Faculty Guide to Captioning and Accessible Videos
YouTube videos or videos hosted on social sites
While the captioning feature on platforms like YouTube and other social media sites have improved in recent years, they are NOT accurate enough to meet the needs of most people. These computer-generated captions are better than no captions at all, however, they are only around a 60-80% accurate. Additionally, they tend to struggle the most with scientific, medical, or other technical jargon. (ie., "Ehler's Danlos Syndrome" being captioned as "Help her down low symptom"). Obviously, this would not be considered an equal educational experience. If you need to use these videos, please contact the SAEO office to discuss options for manually captioning or outsourcing for professional support. Please provide advance notice (minimum of 2 weeks) if you will need our help with this.
DVDs/other professionally made videos
Many of these are captioned already. In the start-up menu, you can go to a set-up/settings/menu/etc., page, and turn closed captions on. If not, they can be outsourced for captioning through SAEO. Please provide advance notice (minimum of 2 weeks) if you will need our help with this.
VCU has a contract in place with a fantastic video management platform called Kaltura. Whether you choose to create your videos in Kaltura or on a different platform, we highly recommend uploading and hosting them in Kaltura. In addition to having incredibly robust accessibility and captioning features, Kaltura connects directly with Blackboard and Canvas to make sharing recorded videos as part of your course a simple process. Below is a step-by-step guide for different approaches to captioning your videos.
Captioning and Editing In Kaltura
In Kaltura, there are two captioning options:
- Machine/Mechanical via Automated Speech Recognition (free)
- Professional Captioning (fee-based)
Machine/Mechanical Captioning (70%-80% Accuracy)
As of the summer 2020 semester, all videos recorded in or uploaded to VCU's Kaltura account will automatically be captioned. It is strongly recommended that you review and edit the automated speech recognition captioning before publishing content. Directions for editing the captions are below.
Editing Machine / Mechanical Captions
- Go into My Media
- Find the media in which you would like to edit the mechanical captions and click on the Title.
- Click on the title of the media.
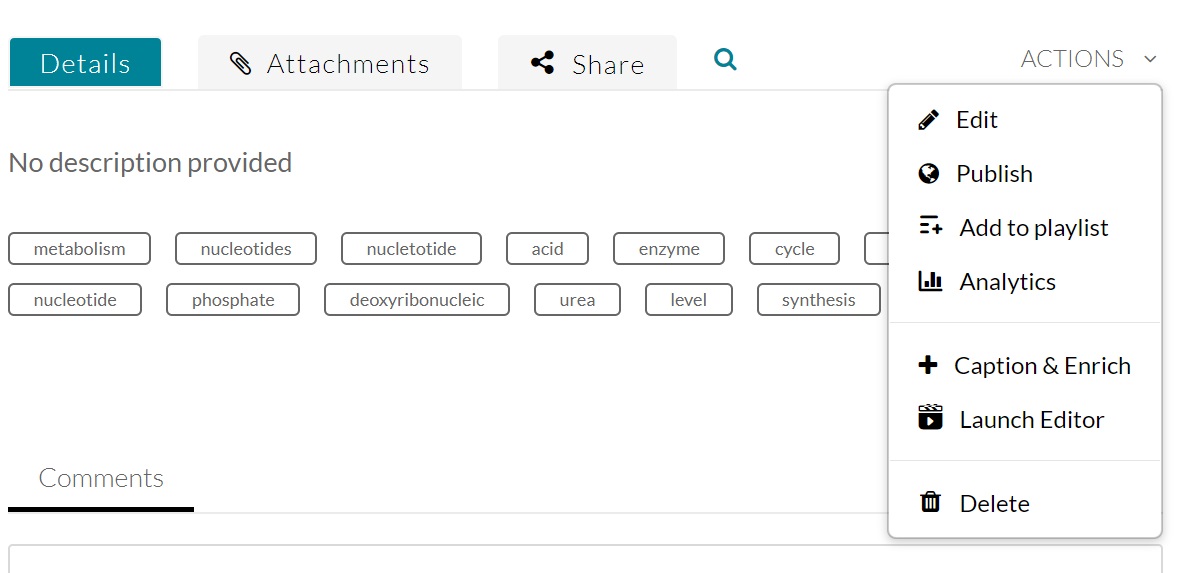
- Click on Actions, beneath the media.
- Choose “Caption & Enrich”.

- At the top there will be a pencil button to edit those captions as long as status lists completed.

- You'll then be sent to the editing page. You'll be able to pause, playback, fast forward, and rewind in this mode. Using the left-hand panel click on the box that you would like to edit. It will highlight the text and fast forward to that point so you can listen to the section as you edit the box. Remember to check the captions after they have been completed, to inspect and correct any errors. Using the left-hand panel click on the box that you would like to edit. It will highlight the text and fast forward to that point so you can listen to the section as you edit the box.
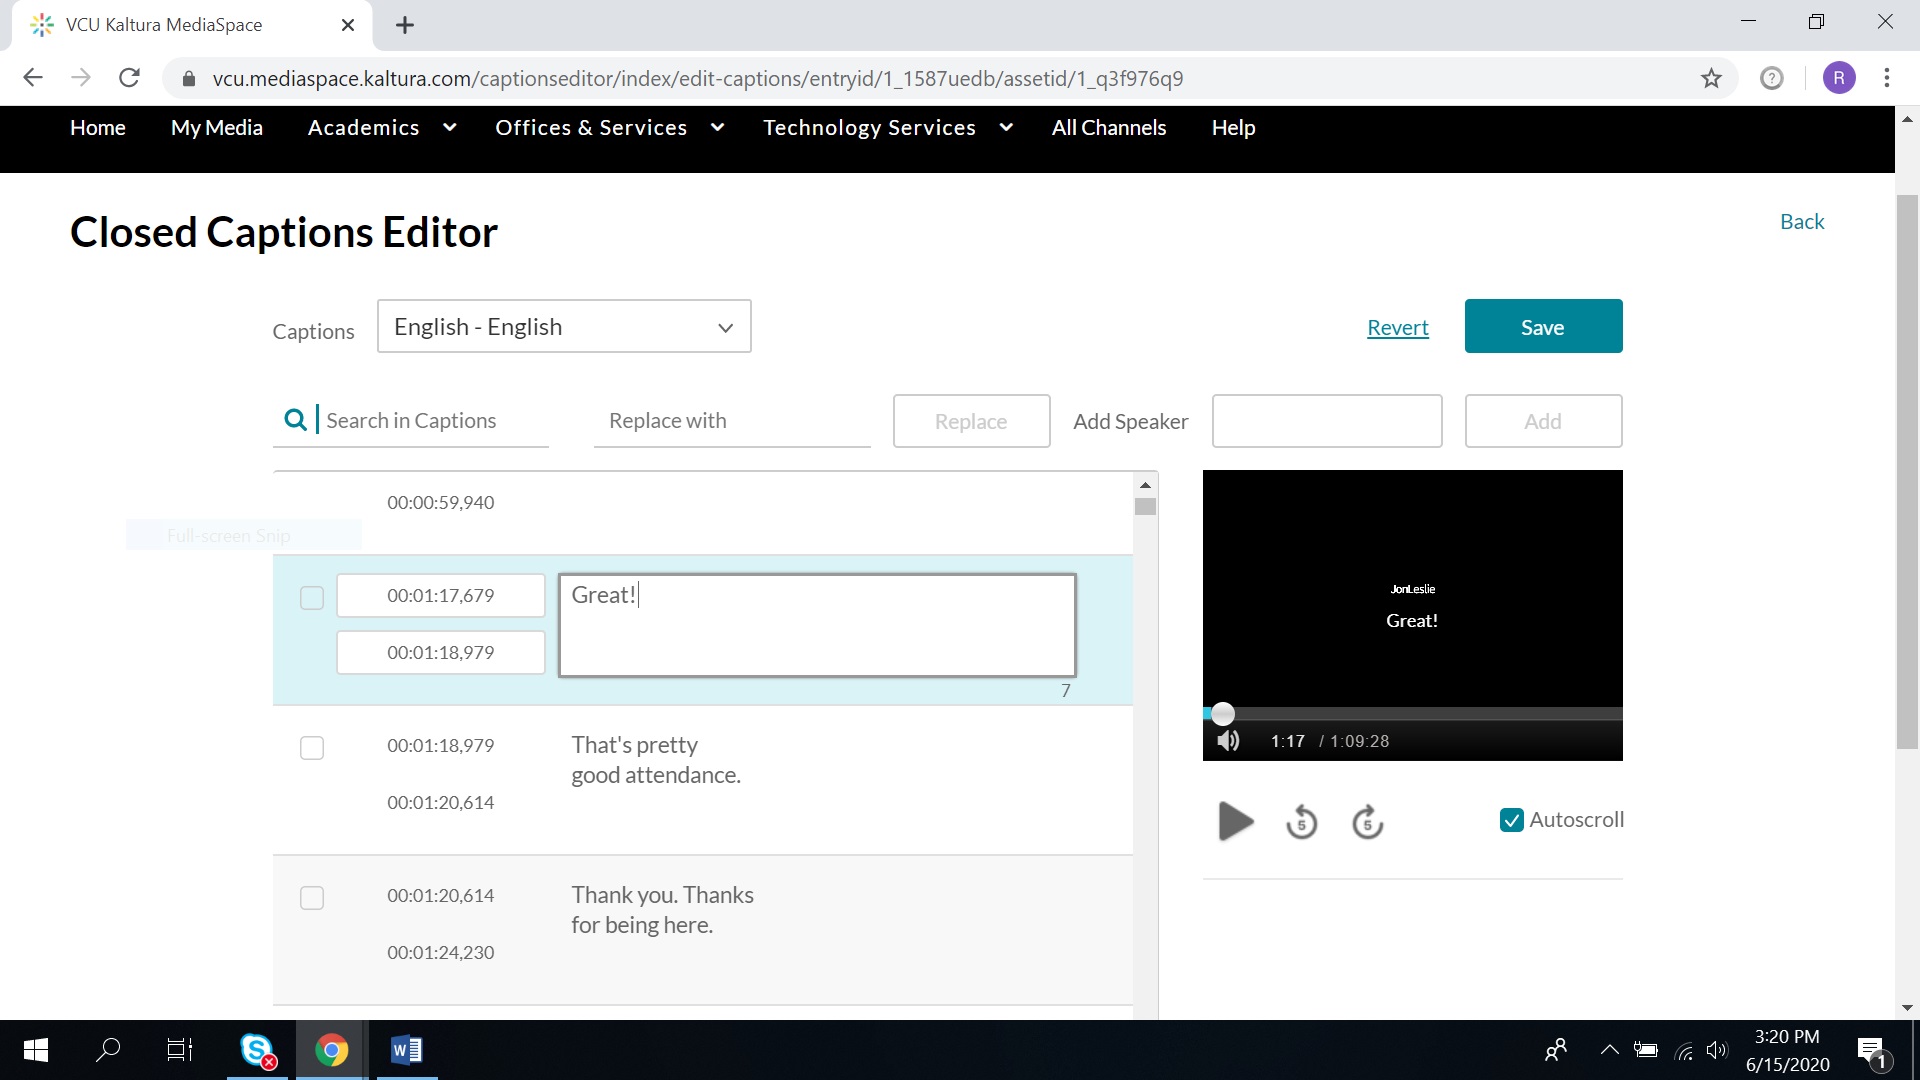
- While editing the captions in your video make sure to Save often. Scroll up to the top right of the page and press save.
.txt Transcript of your Kaltura Video
- Navigate to your video
- Scroll down to the bottom of the page and you will see “Attachments”. Click on “Attachments”.
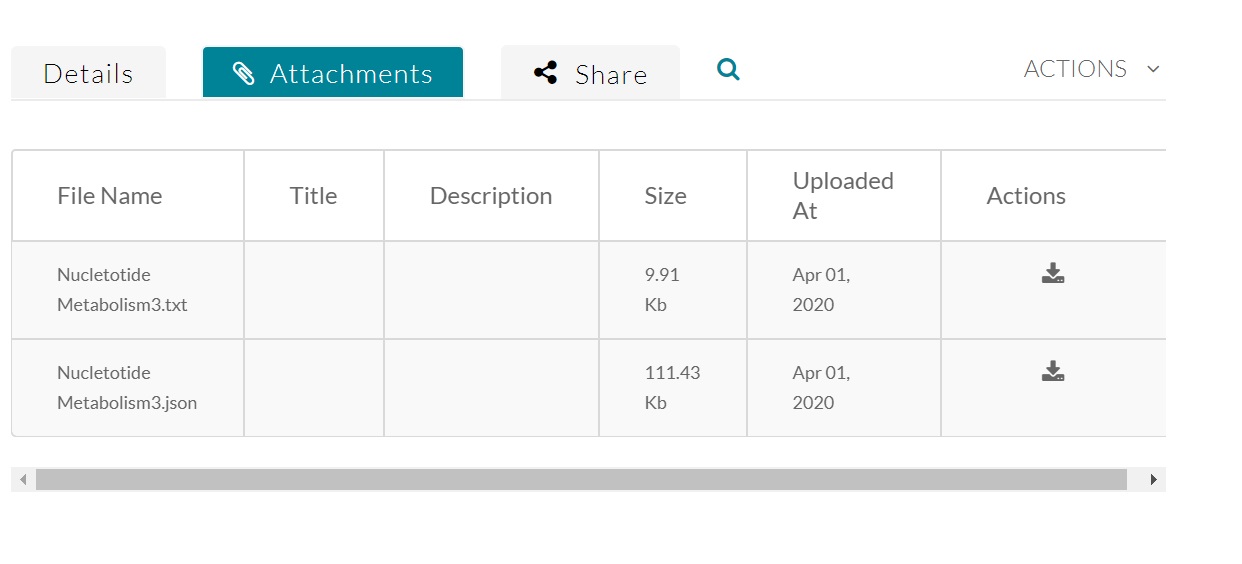
- The first .txt file available is your Computer-Generated Transcript. Under Actions click the download button.
- You can Save the txt transcript and send it to your student. Please read through your transcript before sending it to make any changes to ensure 99% accuracy.
.srt Transcript of your Kaltura Video
- Navigate to your video
- Scroll down to the bottom of the page and click “Actions”
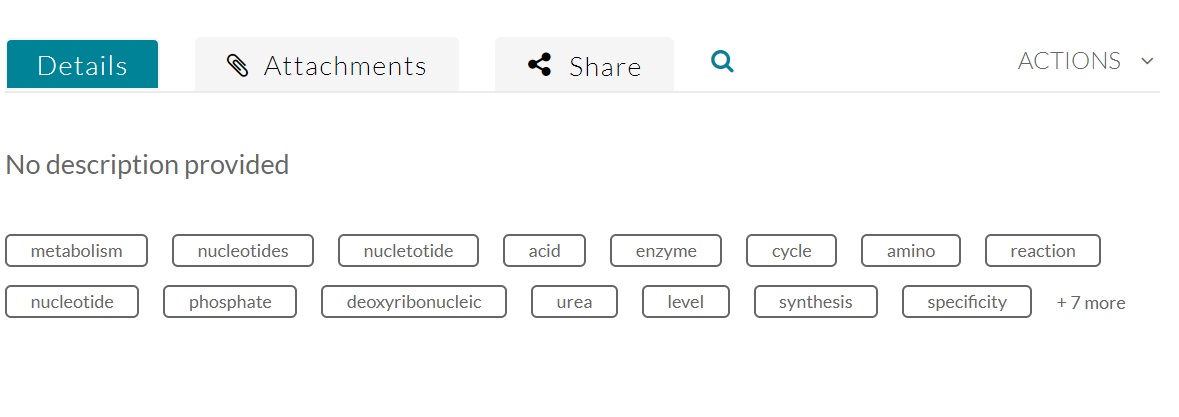
- Click on the “Edit” button
- Click on "Captions"

- An .srt file will appear. Under the actions section click on the download button.

- You will be able to then save and send this file to your student via email.